SMARTS Drawing & Technique 101: Totally Toys
Grades 3-8
Teacher: Kate Antal
Supplies
Paper
Pencil
Other drawing materials, such as colored markers or pastels (optional)
Eraser
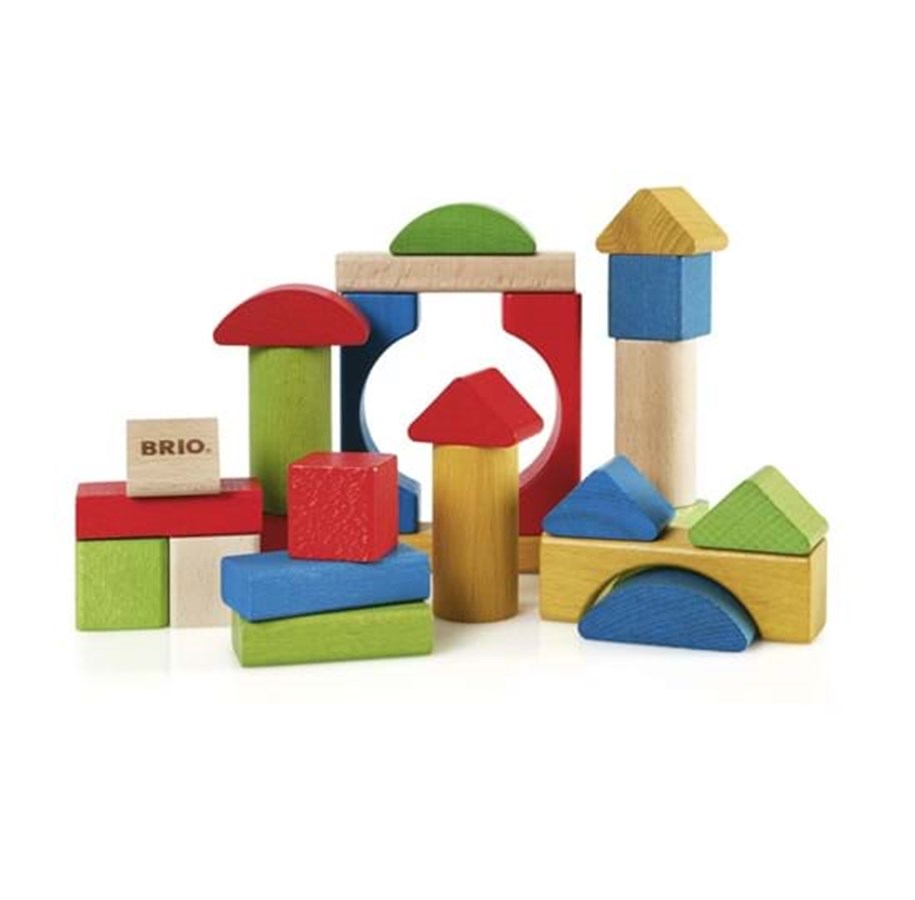
Toys
Paper
Pencil
Other drawing materials, such as colored markers or pastels (optional)
Eraser
Toys

Review
Below you will find an overview of the work we have completed over the weeks in class. There are videos that you can watch to refresh your memory and give you more information about the different artists we have been learning about.
Below you will find an overview of the work we have completed over the weeks in class. There are videos that you can watch to refresh your memory and give you more information about the different artists we have been learning about.
|
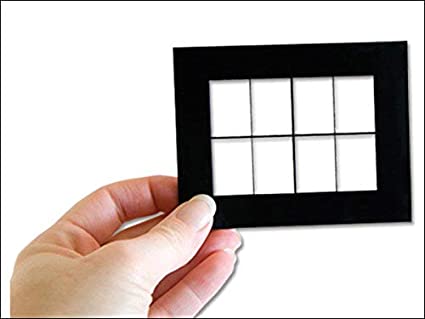
Viewfinder
Students used a tool called a viewfinder to help ‘zoom in’ on their toy, students were asked to draw big and fill up their entire square of paper, as well as focusing on details of their toy. Students had a choice of medium to color in their drawing. Students were drawing from life using a variety of toys. |
|
|
Kandinsky
Students learned continued to learn about the idea of drawing BIG and filling up the space on their larger paper. We learned about the artist, Wassily Kandinsky, and used his inspiration of overlapping shapes in our project. Students chose their own shapes, using a minimum of 3, as well as their choice of medium. Students were drawing from life using a variety of toys. |
|
|
Warhol/Pop Art
Students learned about drawing multiple toys in with multiple spaces on their paper. Students were asked to draw BIG to fill up each space, but also focus on proportions and details of each toy. We learned about Andy Warhol and used his inspiration of pop art and bright colors to color in the drawings. Students were drawing from life using a variety of toys. |
|
|
Seurat/Pointillism
Students learned about drawing their toy to take up the majority of their paper to be able use their imagination to draw their toy into an environment(background). We learned about George Seurat and his technique of Pointillism, as inspiration to complete the coloring of the drawing. Students were also introduced to using value if their work. Students were drawing from life using a variety of toys. |
|
|
VanGogh
Students continued to learn about drawing their toy to take up the majority of their paper to be able to incorporate a background. Students learned about Vincent VanGogh and his famous painting, Starry Night, which was used as inspiration for the backgrounds of the project. Students were introduced to a new medium of oil pastels and the technique of hatching (which oil pastels are great to show the style of Impressionism). |
|
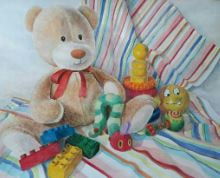
Still Life
The last two times we met for class, we were working on drawing small, medium, and large and overlapping of objects. All of this leading up to being able to put multiple toys together in one placement and draw them showing and understanding of size and proportion as well as overlapping of shapes. We had also been working on drawing lightly, this has been an ongoing task with the students to help them understand why it’s important to draw lightly.
Weeks 9 and 10 were to be solely focused on drawing a large number of objects set up in a still life, using all of the tools we have learned to help us draw better. Then when complete with the drawing again use the inspiration and ideas of famous artists to color in their works of art.
We have been working over the past weeks on our drawing skills: drawing BIG , taking up the
space on our paper or the area we are working in, looking at the proportions of the objects we are looking at and trying to draw.
Take time to investigate and explore the toys before drawing. Observational drawing is drawing what you see. It’s as simple and as complicated as that. But it’s drawing what you see in front of you as realistically and as true to life as possible.
Observational drawing is a great exercise in seeing. When we look at something with the intent of drawing it, we tend to look more carefully than usual. We see, truly see, the shapes, the patterns, the perspective, the colors, the shadows, the contours (lines that define the edges or forms), and how all of the details interact. Observational drawing is also a great way to improve drawing skills.
In translating 3D objects to 2D drawings on paper, we practice getting shapes and proportion right, we learn how to show depth with shading, and we try different techniques for showing texture and detail.
In translating 3D objects to 2D drawings on paper, we practice getting shapes and proportion right, we learn how to show depth with shading, and we try different techniques for showing texture and detail.
INSTRUCTIONS
Set your paper and art materials down in front of the item you want to draw. The materials can be used in a variety of ways. When engaging in an activity like a still-life exploration, keep the creativity of placement in mind.
Place the toys in the middle of the table. You can also include some fabric for the objects to sit on. Think about size variation- you do not want all the same size objects, pick a variety of sizes to set up as well as balance out where the different sizes are in the still life.
Sketch the overall forms of the toys, and as large as possible, on the paper, then go in and define the contours and shapes. Look back and forth from the object to your paper, as you translate what you see to what you are drawing. Once you have the big picture outlines of your drawing subject on paper, you can begin to add details, shading, patterns, and colors as desired.
If you are having trouble getting starting, talk through the shapes and details out loud. What do you see, and how might what you see translate?
Look at the dimensional forms in space and think about it as a two-dimensional drawing on paper.
For example…
Does your object look like a sphere, a cylinder, a cube or a cone?
Is your object a combination of these forms?
How big is the object in comparison with the other objects?
How big should it be on your paper?
What does the texture look like?
Where are the shadows on your objects?
Along one side?
Where is that on your drawing?
Share your work in the SMARTS Spring 2020 Student Gallery
SMARTS families/students, the button below will take you to a site where you can upload your work. Please upload only one picture or video per class (Photography 101 students can share up to 3 photos). Videos must be no longer than 2 minutes in length.
By submitting your work to SMARTS, you are giving your consent for us to share your work in the SMARTS Student Art Gallery and publicly on our social media, website, etc. This submission overrides your media release preferences and gives SMARTS your permission to share what you have uploaded. It is SMARTS discretion which photo and video submissions will be publicly shared. Thank you.
By submitting your work to SMARTS, you are giving your consent for us to share your work in the SMARTS Student Art Gallery and publicly on our social media, website, etc. This submission overrides your media release preferences and gives SMARTS your permission to share what you have uploaded. It is SMARTS discretion which photo and video submissions will be publicly shared. Thank you.