SMARTS Heroes and Villains Fiction Writing
Grade: 5-12
Teacher: Lisa Didiano
A Note from Your SMARTS Teacher
There is one word I keep hearing from my k-12 friends: BORED. If you are among the bored, so in addition to our last lesson, I have included a few extra ideas that might help. Also, I’d love to read your writing when you are finished. Please share them at the end of this lesson, because I am also bored and you can help by sending me copies or pictures of your writing projects. =) So use your imagination and pretend like we are in class together!
SMARTS Lesson
Develop your villain in one final writing assignment. Then, compile your short pieces on your heroe and villain into a Story Bible, complete with illustrations.
Step 1: Villain
|
Villain Brainstorm Worksheet. Download this worksheet to complete an exercise on your villain and see Miss Lisa's example!
Character Development Review and Villain Writing Prompt. Take a look at what we've discussed about hero and villain character traits and how they change throughout a story! Then complete the writing prompt, where you'll write the final scene of your story from your villain's point of view. |
Step 2: Story Bible
Story Bible – Contains all of the important information about your story. It is a document you can reference when you get stuck writing. It remembers all of the facts about your characters, settings, and plot ideas.
Now that we have all our written pieces on our hero and villain, it's time to assemble them in a meaningful order. Arrange the pages of your Story Bible to suit your style. Use this as a guide as you continue writing your story about your hero and villain in the future.
EXAMPLE: Put all of the Hero pages together and all of the Villain pages together. Separate it into two sections.
EXAMPLE: Put the setting pages first, then the characterization pages, then add the genre pieces, last put the scene writing page, scene you wrote, and the final villain scene. Whatever order you find meaningful, creative, or interesting, go for it!
Choose your favorite piece from this semester and submit it below.
Take it one step further!
When readers choose a story, they look at these things: the title, front cover, a blurb from a famous writer, and the back cover copy. Consider creating these elements for your Story Bible. You can even throw in some cool illustrations throughout your Story Bible if you'd like.
1. Come up with the title of your story.
2. Famous author blurb: What if your favorite author wrote a recommendation for your book? What would they say about it? Write one or two sentences that will entice a reader to buy your novel from the point of view of your favorite author.
3. Imagine: You’re walking into your favorite restaurant, and you overhear the conversation of two other people who are leaving. They are complaining they haven’t had any good story submissions lately and they don’t know what they will publish if some writer doesn’t come up with a good idea soon. You only have a minute to dazzle them with your story. Write two paragraphs (four sentence each) describing your story. It looks like this:
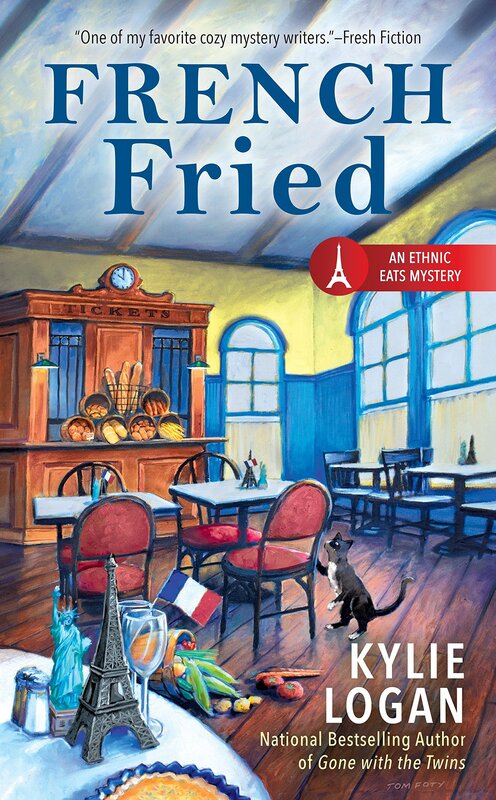
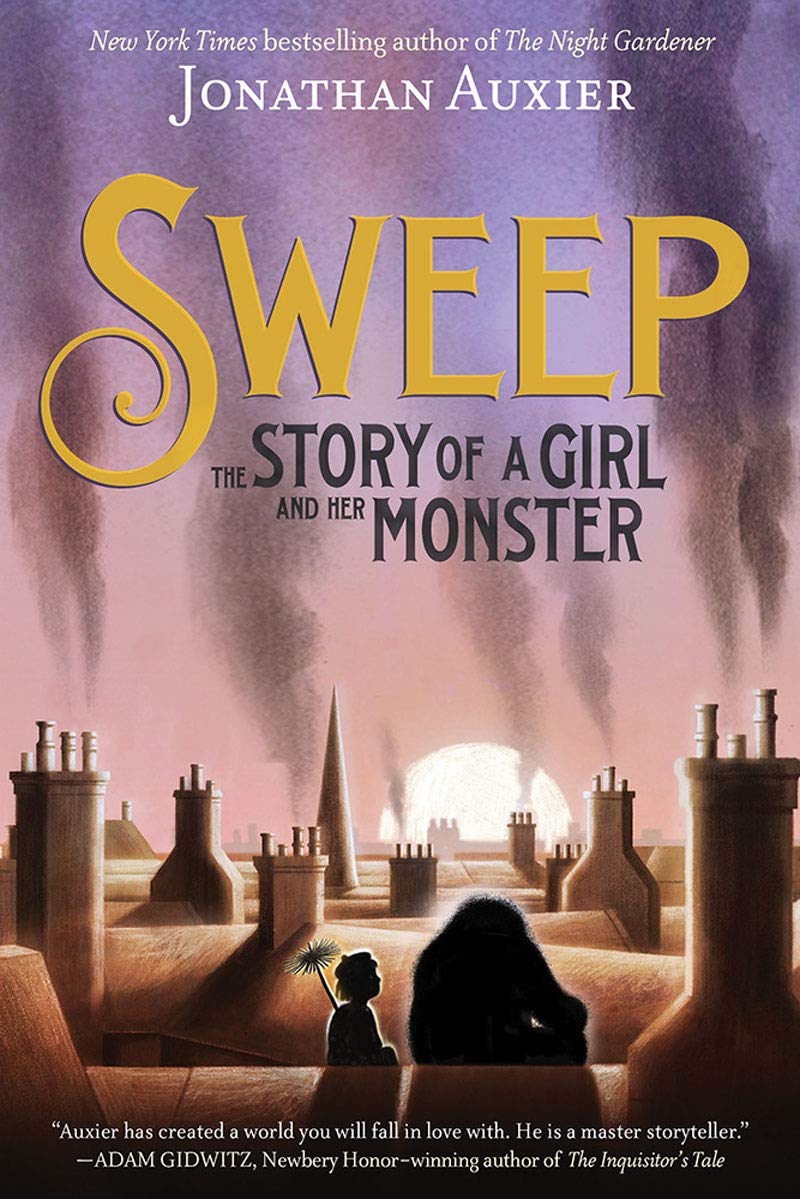
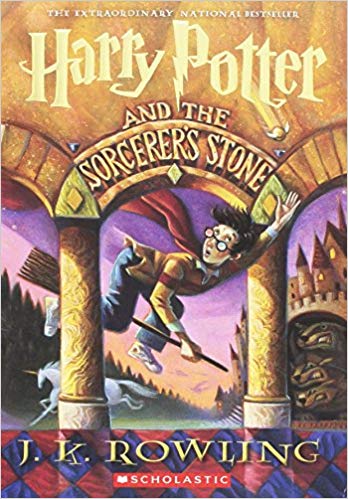
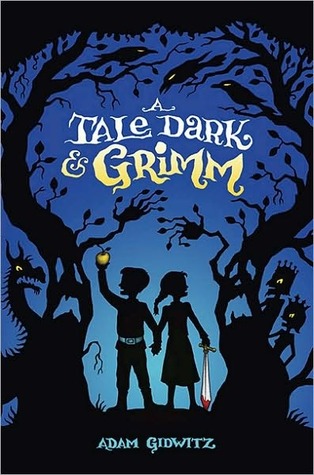
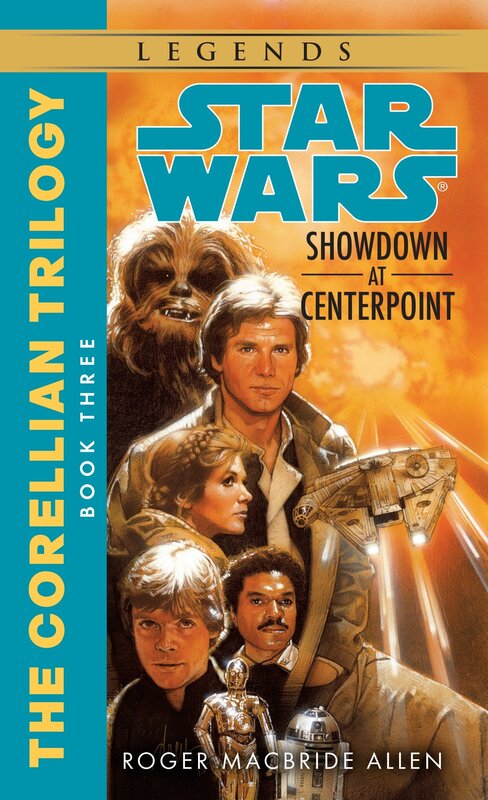
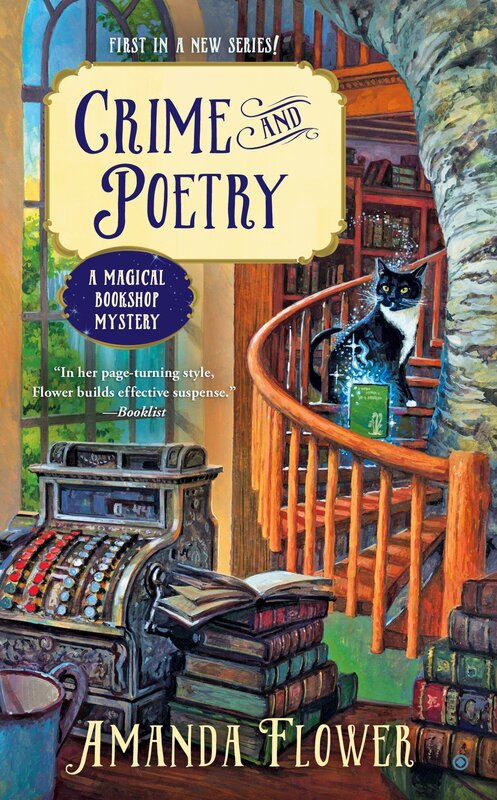
4. Design your front cover. Front covers are very important for novels. As we read, we often refer to the cover for ideas about how things look from the author’s point of view. Some covers have become iconic – the covers of Hunger Games, Harry Potter, and Percy Jackson are examples – readers recognize the covers even if they’ve never read them. Some science fiction and cozy mystery series have reoccurring characters on the front cover. For example: if my favorite sleuth’s cat, Emerson, is on the front cover then I know it’s a magical bookshop mystery. Below are a few examples.
When readers choose a story, they look at these things: the title, front cover, a blurb from a famous writer, and the back cover copy. Consider creating these elements for your Story Bible. You can even throw in some cool illustrations throughout your Story Bible if you'd like.
1. Come up with the title of your story.
2. Famous author blurb: What if your favorite author wrote a recommendation for your book? What would they say about it? Write one or two sentences that will entice a reader to buy your novel from the point of view of your favorite author.
3. Imagine: You’re walking into your favorite restaurant, and you overhear the conversation of two other people who are leaving. They are complaining they haven’t had any good story submissions lately and they don’t know what they will publish if some writer doesn’t come up with a good idea soon. You only have a minute to dazzle them with your story. Write two paragraphs (four sentence each) describing your story. It looks like this:
- Write a sentence about what is going on as the story begins. Include your main character’s name.
- Write two sentences about what the main characters are facing in the first half of the story.
- Write a sentence about what the villain has been up to in the beginning of the story.
- Paragraph two: Write a sentence about the bad things the hero is fighting.
- Write a sentence about what will happen if the hero doesn’t win.
- Write a sentence about what the hero is doing in the second half of the book to win.
- End with a question: How can hero possibly win? Will hero find the ____ in time? You get the idea.
4. Design your front cover. Front covers are very important for novels. As we read, we often refer to the cover for ideas about how things look from the author’s point of view. Some covers have become iconic – the covers of Hunger Games, Harry Potter, and Percy Jackson are examples – readers recognize the covers even if they’ve never read them. Some science fiction and cozy mystery series have reoccurring characters on the front cover. For example: if my favorite sleuth’s cat, Emerson, is on the front cover then I know it’s a magical bookshop mystery. Below are a few examples.
What happens if I am all out of ideas?
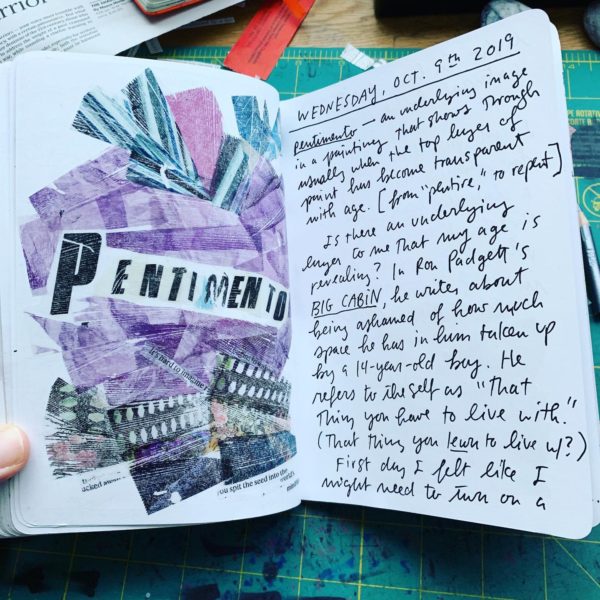
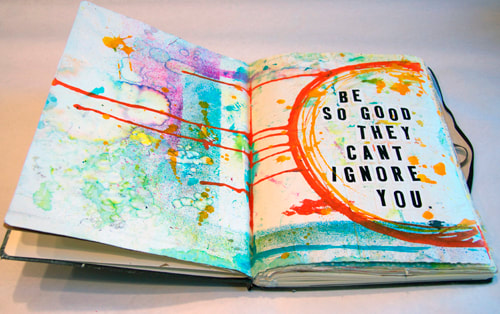
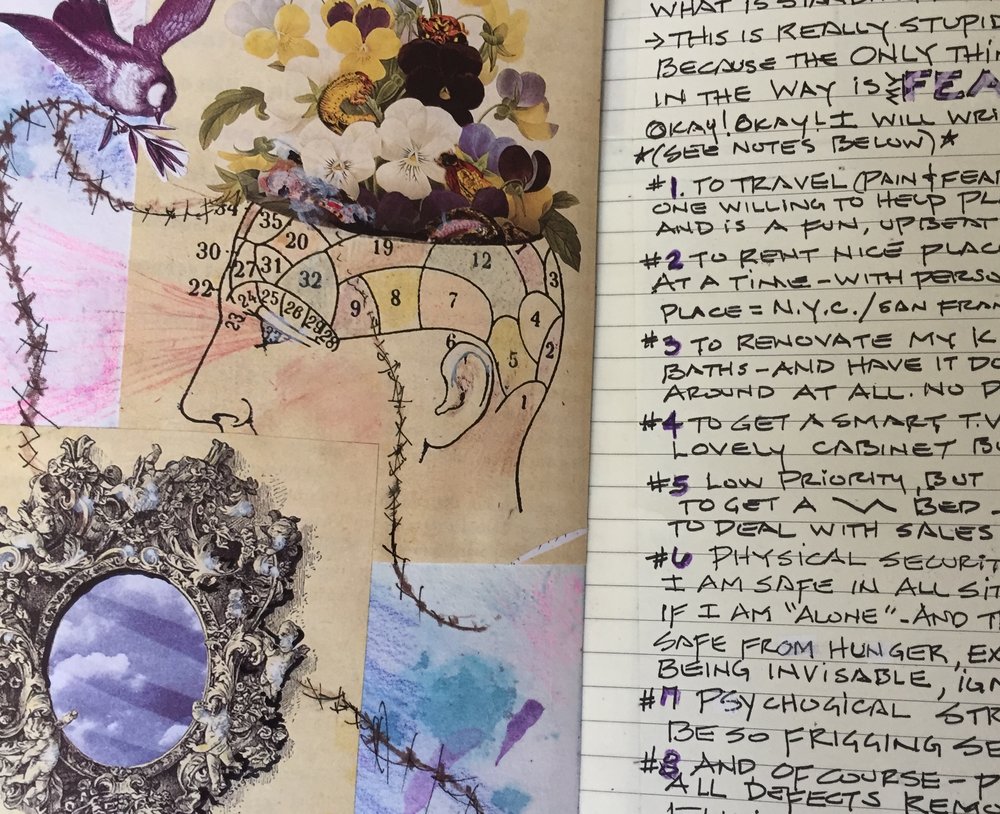
If you are stuck with your story, hero, villain, etc. consider making a collage. You can use anything to build your collage.
If you are stuck with your story, hero, villain, etc. consider making a collage. You can use anything to build your collage.
- Begin with a blank piece of construction paper or poster board in any color.
- You’ll also need scissors and glue.
- Now: go find things that remind you of your story.
- Cut, rip, and tear pictures from magazines, ads the postman drops off weekly, or ads from the newspaper.
- Get creative – does your character love flowers? Go get one from the yard or ask if you can have a fake flower from an old decoration your parents no longer use.
- Arrange the items you gathered on the poster board and glue it all together. When it’s dry, be sure to place it near your writing area and when you’re stuck – look at it – it will help you remember ideas you had and come up with new ones.
Congratulations, writers! You completed the SMARTS Heroes and Villains Class.
End Objective
Students should have a completed a variety of writing entries on a hero and villain that develops them as characters and assembled these pieces into a Story Bible booklet.
Students should have a completed a variety of writing entries on a hero and villain that develops them as characters and assembled these pieces into a Story Bible booklet.
Share your work in the SMARTS Spring 2020 Student Gallery!
SMARTS families/students, the button below will take you to a site where you can upload your work. Please upload only one picture or video per class (Photography 101 students can share up to 3 photos). Videos must be no longer than 2 minutes in length.
By submitting your work to SMARTS, you are giving your consent for us to share your work in the SMARTS Student Art Gallery and publicly on our social media, website, etc. This submission overrides your media release preferences and gives SMARTS your permission to share what you have uploaded. It is SMARTS discretion which photo and video submissions will be publicly shared. Thank you.
By submitting your work to SMARTS, you are giving your consent for us to share your work in the SMARTS Student Art Gallery and publicly on our social media, website, etc. This submission overrides your media release preferences and gives SMARTS your permission to share what you have uploaded. It is SMARTS discretion which photo and video submissions will be publicly shared. Thank you.