SMARTS Stop-Motion Animation: Dreams
Grade: 3-8
Teacher: Marites Eldred
Materials
Textured objects, paper (or copy paper/construction paper/butcher paper/scrap paper),
crayons (or pencils/chalk/pastels/charcoal)
Optional: scissors, glue, markers, cardstock/cardboard/thick paper
crayons (or pencils/chalk/pastels/charcoal)
Optional: scissors, glue, markers, cardstock/cardboard/thick paper
SMARTS Lesson
Here we will review everything we’ve covered in our class so you can continue to make your own stop motion animations in the future.
For the past 8 sessions we have been working on creating short animations using handmade scenery and props and the free application Stop Motion Studio. This is a free app that can be downloaded on tablets, iPads and smartphones. Once you have it you can create short or long animations anywhere you want!
For the past 8 sessions we have been working on creating short animations using handmade scenery and props and the free application Stop Motion Studio. This is a free app that can be downloaded on tablets, iPads and smartphones. Once you have it you can create short or long animations anywhere you want!

If you have access to the app you can create a new movie by clicking on the large plus (+) sign on the main screen. To see all of the features available click on the question mark (?) on the lower right side of the screen. Any features that don’t have a lock symbol are available for free.
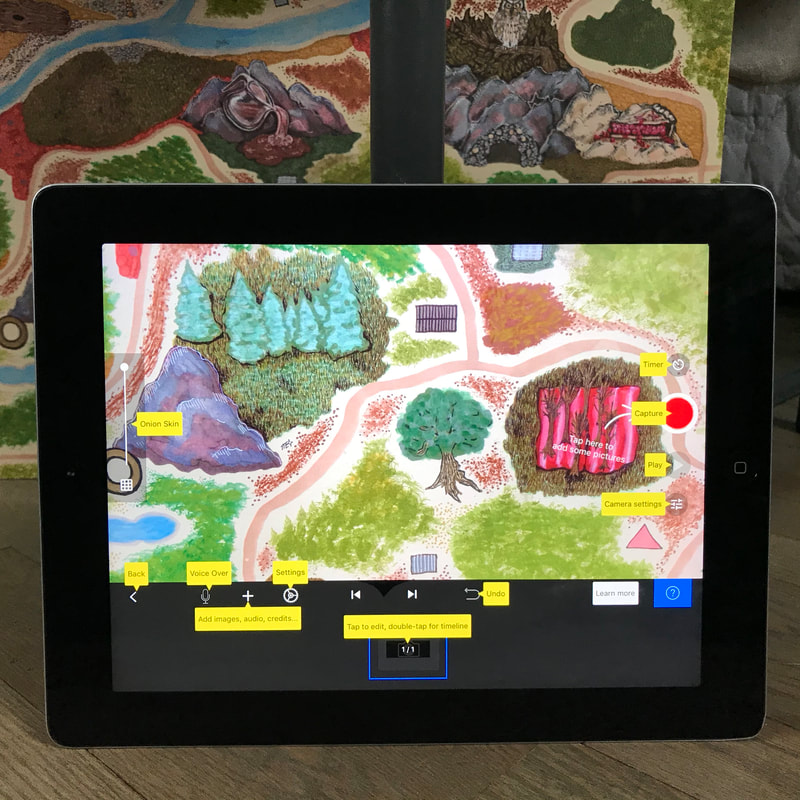
The microphone symbol allows you to add sound, and the bar on the left called “Onion Skin” lets you see your last picture at the same time as what your next shot will be so you can line everything up if you accidentally bump your camera or forget what your last picture was. You can also turn a grid on and off to line up your scene.
If you don’t have access to Stop Motion Studio you can also use a digital camera to take photos of your moving objects. You want to use a tripod or set your camera on a tabletop or book so it stays in one spot and animate your objects one picture at a time. You can then put the pictures onto a computer and use a movie-making app to edit them together. Each photo should only last less than half a second for the animation to work. Different programs that I’ve used in the past that may or may not be available on your computer are: Windows Movie Maker, Final Cut Pro, iMovie, Davinci Resolve, and Blender.
The first step in creating a stop motion animation is to brainstorm your idea. There are many styles of stop motion. We discussed and experimented with several of the following:
puppet animation: using wire dolls or puppets
pixilation: using actors to animate a sequence
silhouette animation: using a silhouette or the dark shape and outline of someone or something (This type of animation is usually lit from behind but you can create shadows and silhouettes other ways.)
cutout animation: using paper cutouts
object animation: using objects
claymation: using clay or play dough
Once you’ve brainstormed your idea and decided what type of animation you would like to create you must make and gather your scenery, props, characters and whatever else you might need.
To create scenery for your animation you can use fabric, wrapping paper, drawings, paintings, blankets, cardboard, or anything you like. Here is an example of different materials you can create scenery with.

Here are some examples of paper cutouts with movable parts for a stop motion project I am working on:
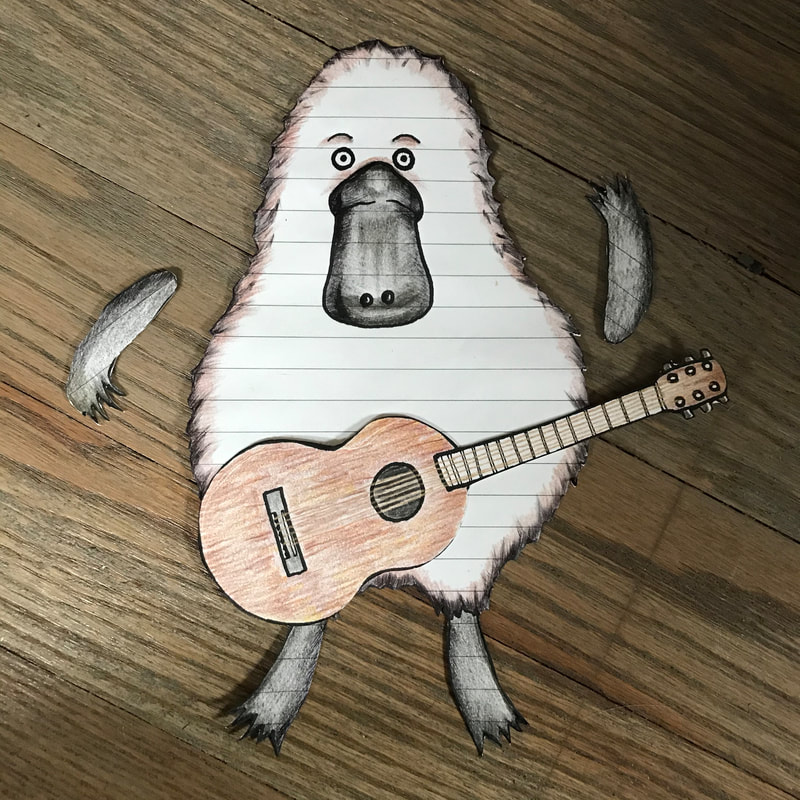
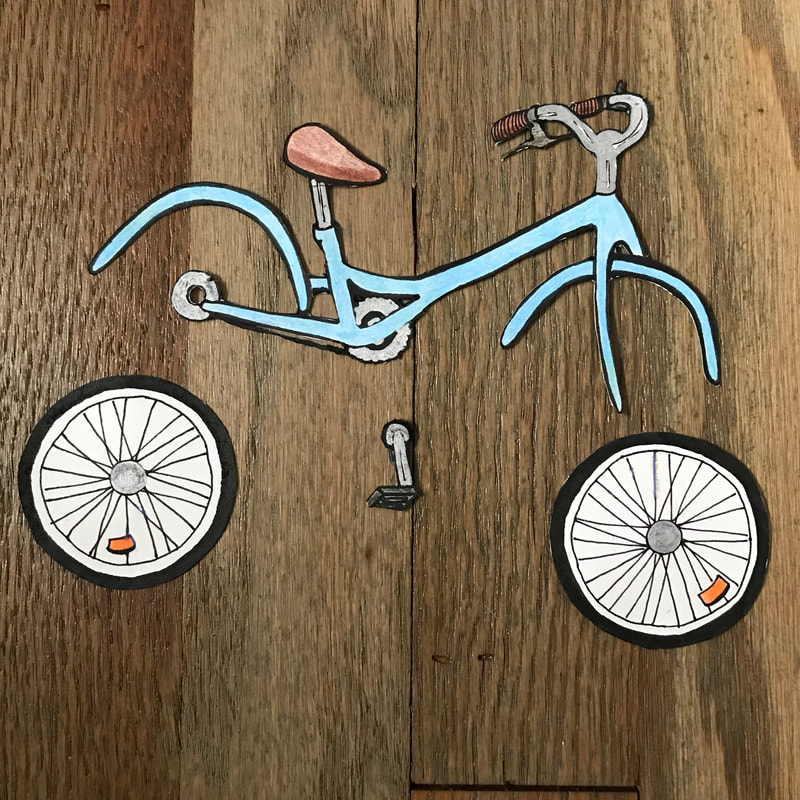
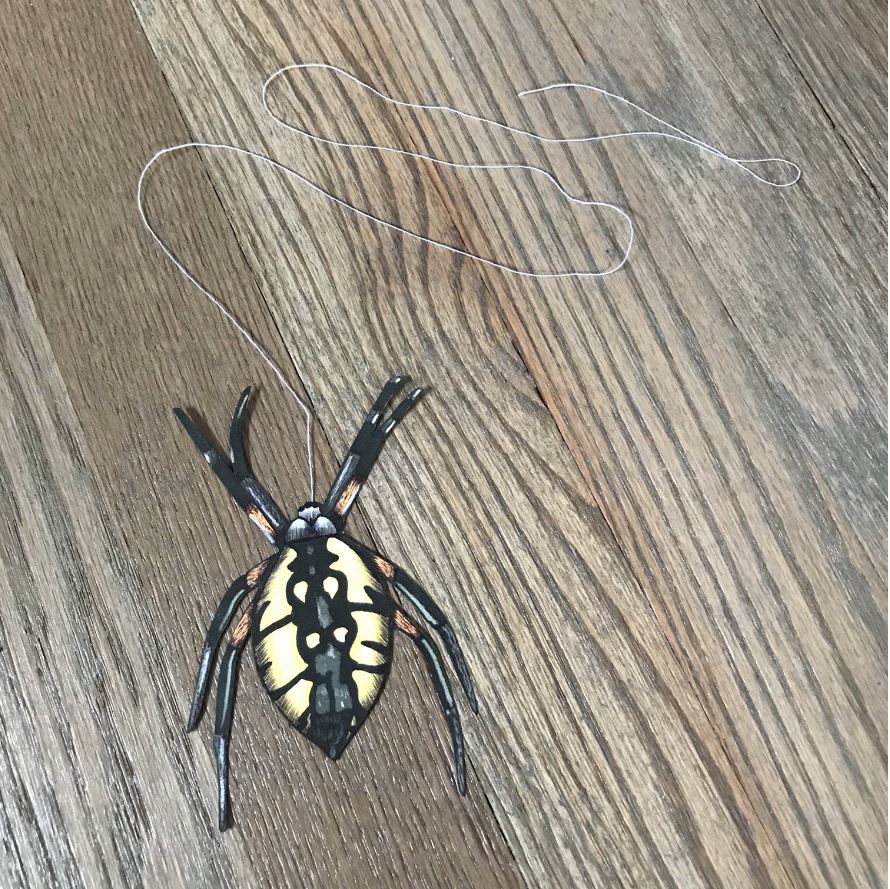
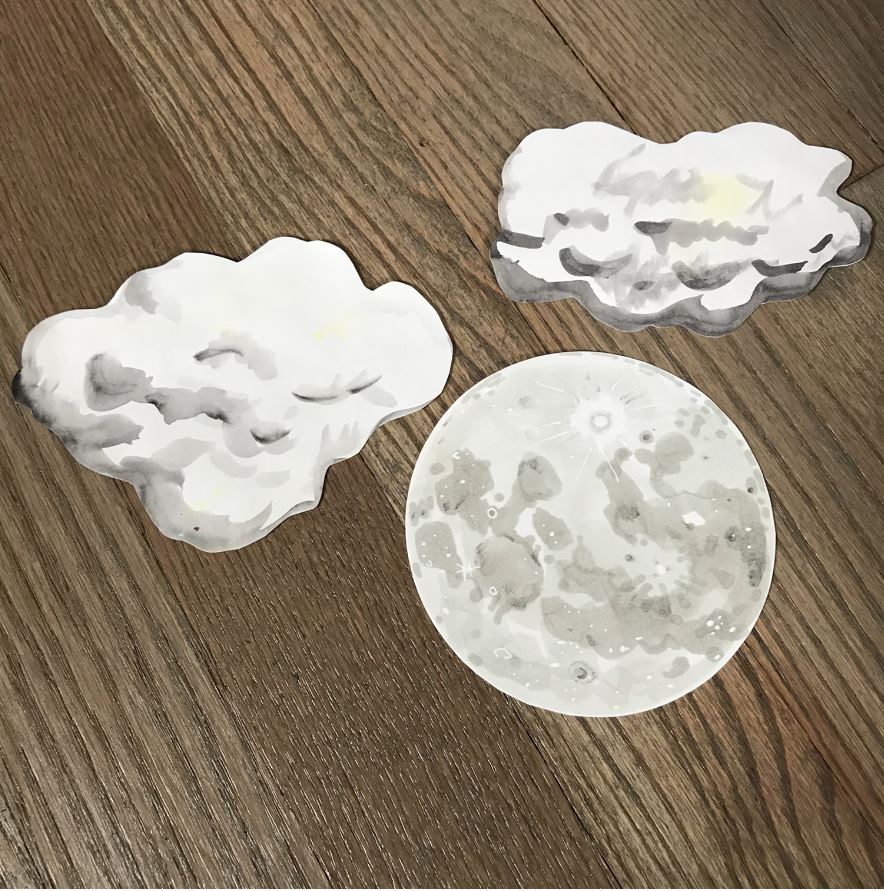

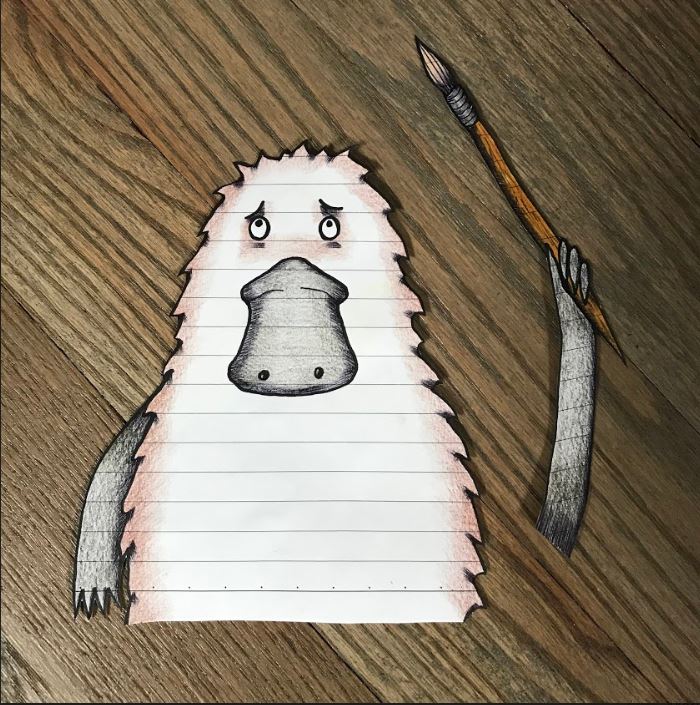
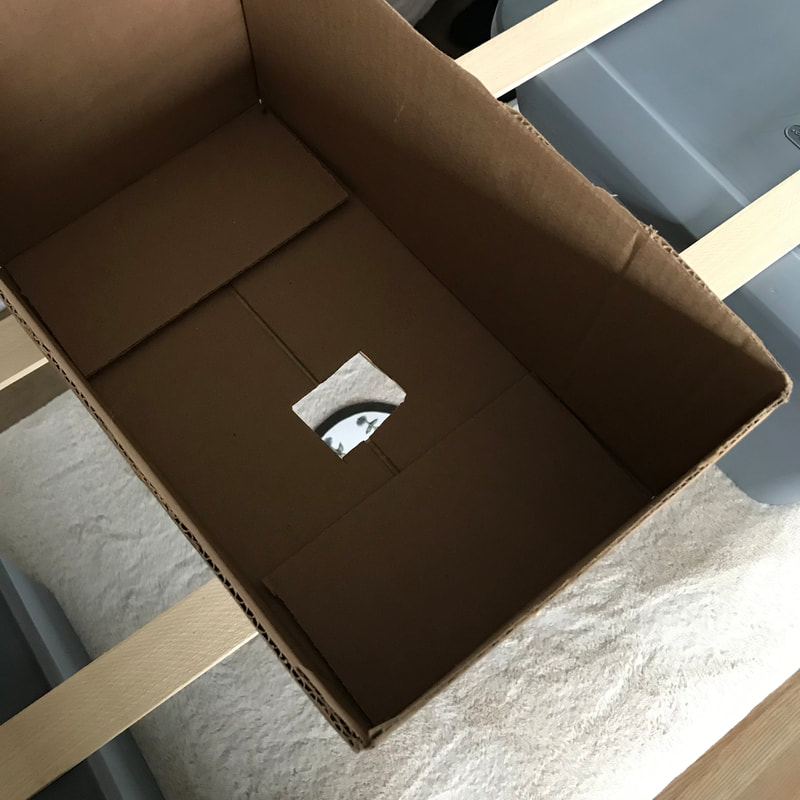
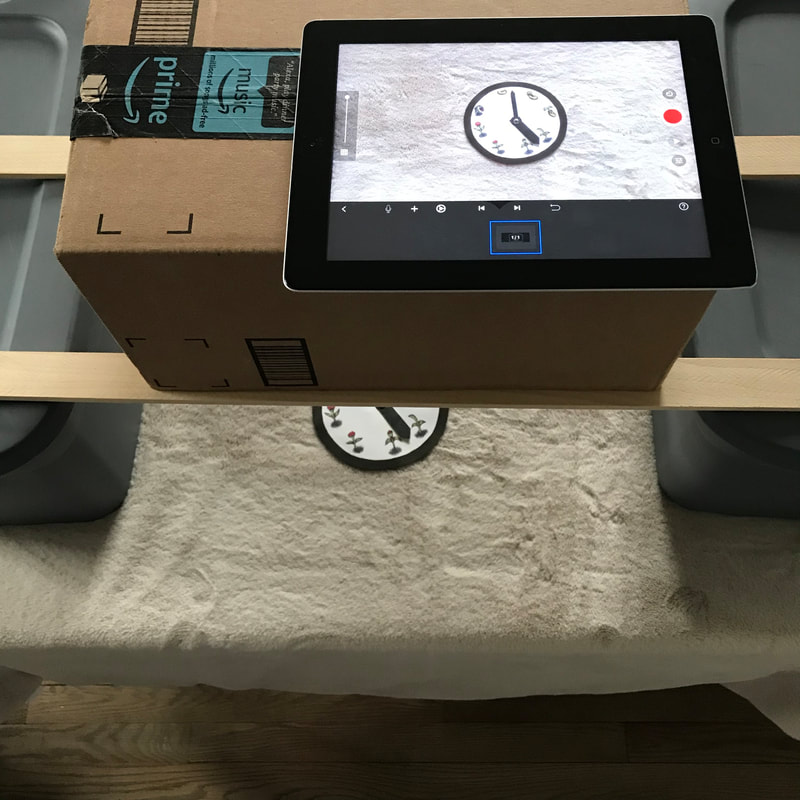
Paper Cutouts are easiest to animate using an aerial shot, or a shot from above with your camera facing down at your scene. At home I use a cardboard box with a small hole cut out for the camera, two long skinny pieces of wood, and two gray totes. It doesn’t matter what you use to get your camera shot because none of your setup should show in your final animation.

For many object animations or claymation scenes, you may want to shoot a straight shot. This is where you set your camera facing your scenery and props directly. Here are examples of objects that can be used and a straight camera shot.


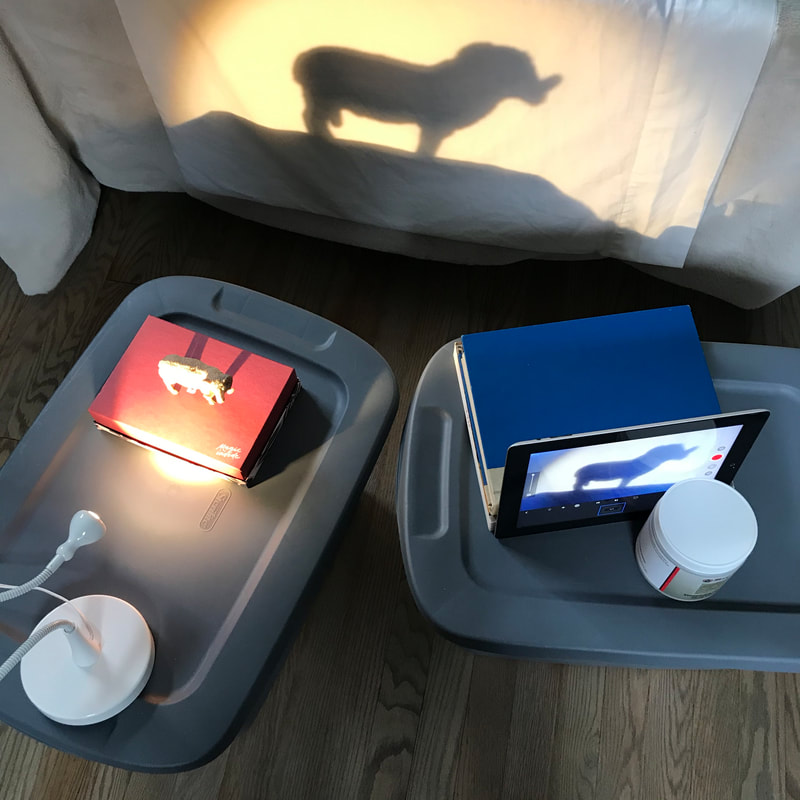
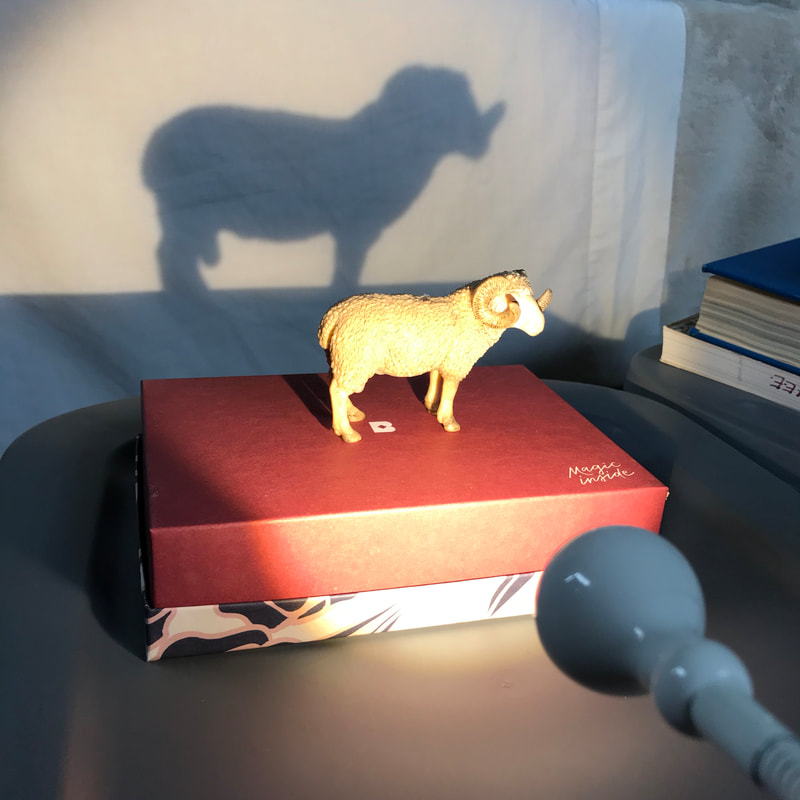
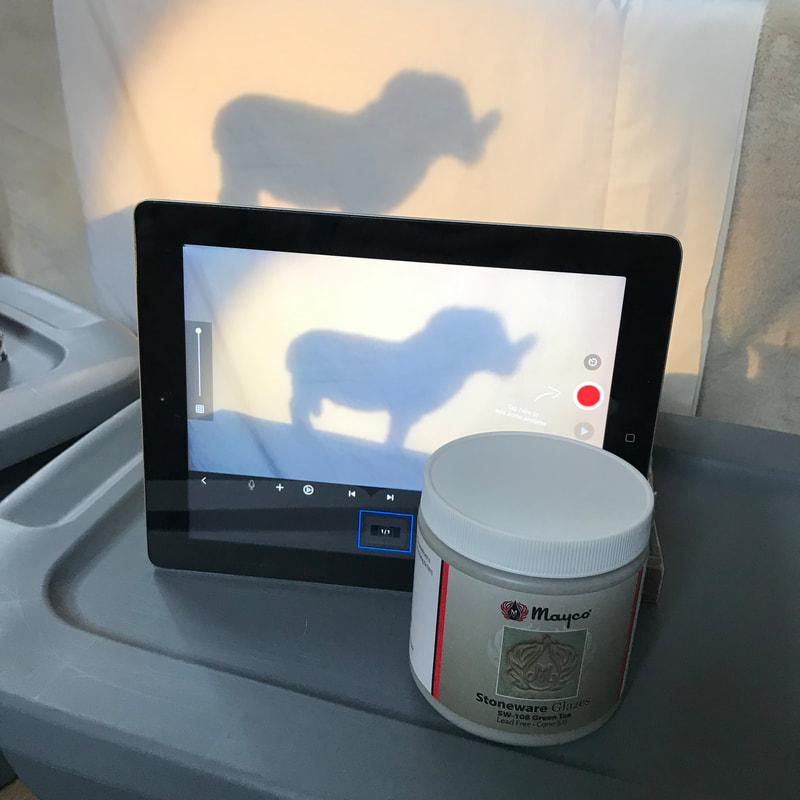
Silhouette Animation If you want to experiment with silhouette animation all you need is a light, some thin white or light-colored paper or fabric and an object to animate. Most silhouette animations are lit from behind, but here is an example of how you could set up a shadow scene from the front:
Most of your Spring 2020 SMARTS animations were finished at the end of our most recent class. If you still need to edit your work or add sound please send us a message so we can brainstorm a way to make it happen. Otherwise, look forward to seeing your hard work uploaded to our website for a debut at the end of March!
As always feel free to message us at SMARTS with any questions or comments.
As always feel free to message us at SMARTS with any questions or comments.
Share your work in the SMARTS Spring 2020 Student Gallery!
SMARTS families/students, the button below will take you to a site where you can upload your work. Please upload only one picture or video per class (Photography 101 students can share up to 3 photos). Videos must be no longer than 2 minutes in length.
By submitting your work to SMARTS, you are giving your consent for us to share your work in the SMARTS Student Art Gallery and publicly on our social media, website, etc. This submission overrides your media release preferences and gives SMARTS your permission to share what you have uploaded. It is SMARTS discretion which photo and video submissions will be publicly shared. Thank you.
By submitting your work to SMARTS, you are giving your consent for us to share your work in the SMARTS Student Art Gallery and publicly on our social media, website, etc. This submission overrides your media release preferences and gives SMARTS your permission to share what you have uploaded. It is SMARTS discretion which photo and video submissions will be publicly shared. Thank you.