SMARTS Ceramics 101
Where the wild things live!
Teacher: Kara Terlecki
Materials
Paper (copy paper/construction paper/news paper/scrap paper/ brown paper bag),
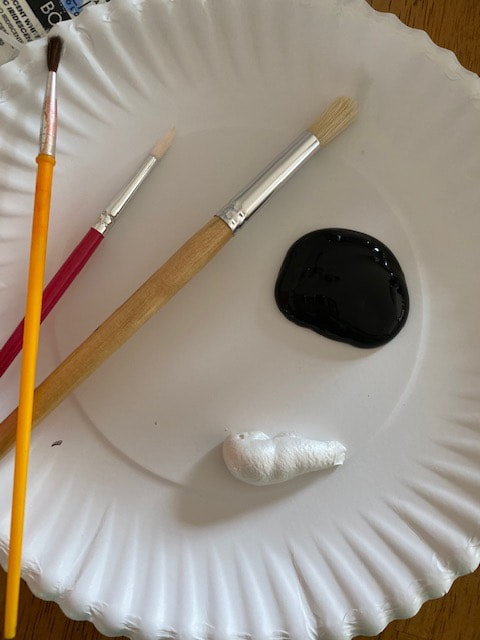
Crayons, markers, paint, pencils or anything that can deposit color!
A box ( shoe box, cardboard box, any box)
Tape/glue
Scissors
String, buttons
Any miscellaneous objects (I used coffee K cups)
Paper (copy paper/construction paper/news paper/scrap paper/ brown paper bag),
Crayons, markers, paint, pencils or anything that can deposit color!
A box ( shoe box, cardboard box, any box)
Tape/glue
Scissors
String, buttons
Any miscellaneous objects (I used coffee K cups)


SMARTS Lesson
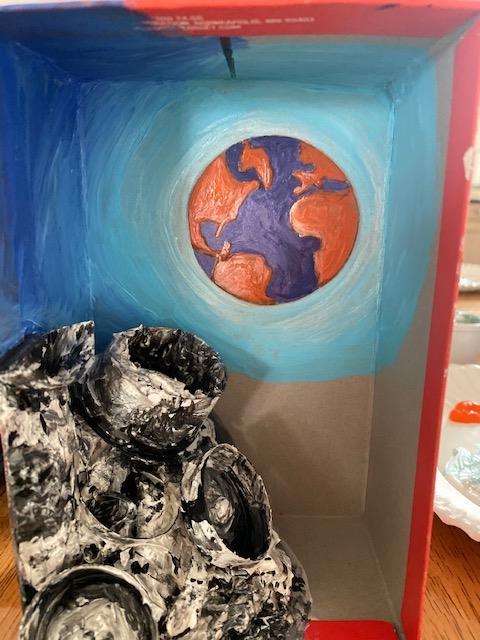
Students will be creating a habitat for their ceramic creatures to live in. With the magic of their imaginations and some cutting, pasting and coloring they will be turning a plain box into a fantasy land for their wild sculptures to call home.
They will be utilizing the Elements of visual art to do this by filling their boxes with colorful lands, paper plants and one of a kind atmospheres.
|
A Note from Your SMARTS Teacher
Hello artists! We are going to be working with cardboard box to make our 3-D designs today. You are going to be creating a habitat for your ceramic creature to call home. You can make the inside of your box like nothing anyone’s ever seen and be as inventive as possible! The box will be turned on it’s side so you will have a ground and a very large background along with sides and a top. You can choose to treat these boxes as if they were rooms in another universe or doorways to colorful magical places. Brainstorm and be as wonderfully creative as you were with the creation of your ceramics! Remember to use the “parts of art” (line, color, shape, texture, space, form, value) this is a great opportunity where all of these elements can be incorporated. You can paint, color, attach found objects and made objects to the insides of these new lands! You can make your drawings on paper and paste them in the box or you can dive right in and work on the box surface. So activate those imaginations and get started!!!!! |
Steps for Creation
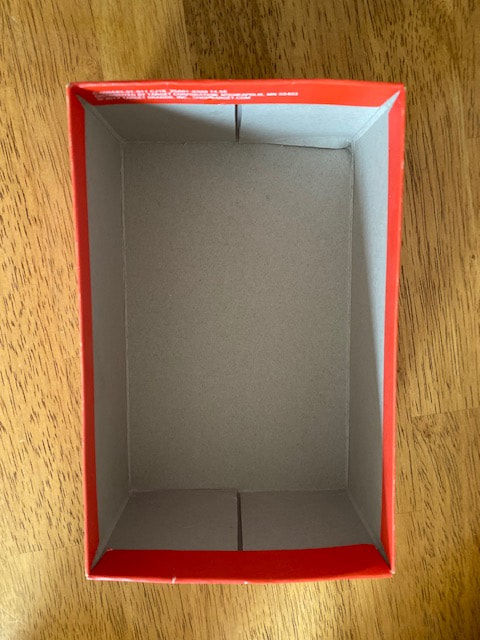
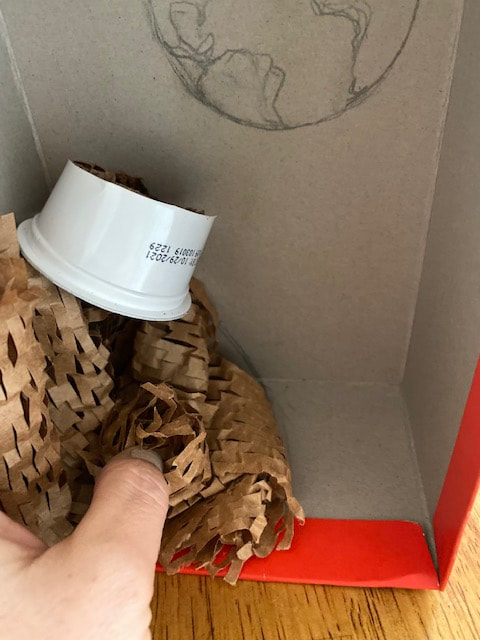
- Choose a box that will work sitting on its side.
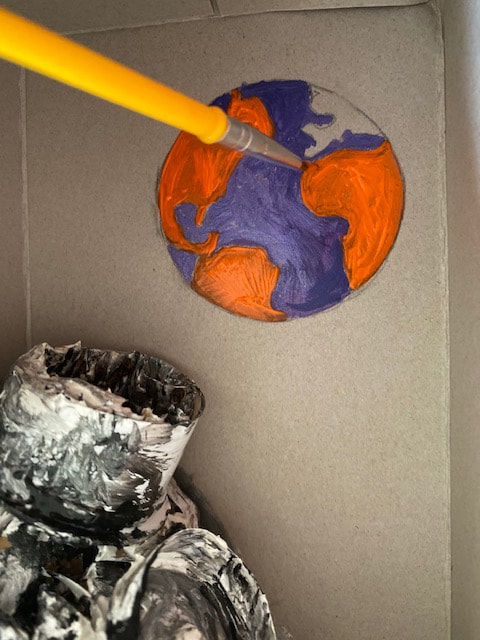
- Now you are ready to begin designing the inside of your habitat.
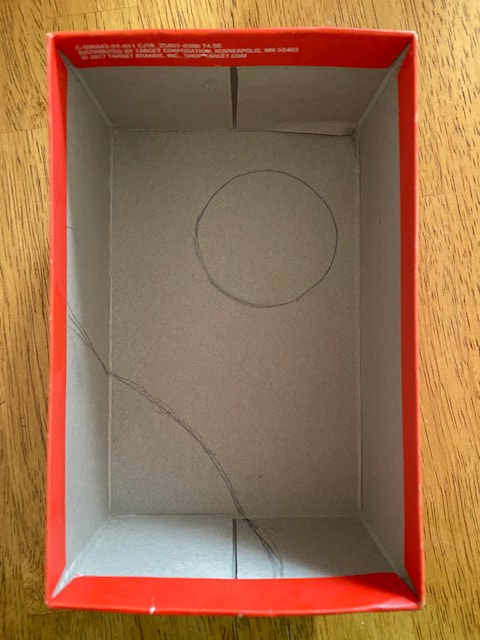
- Focus on interesting use of line, shapes, color, texture and space.
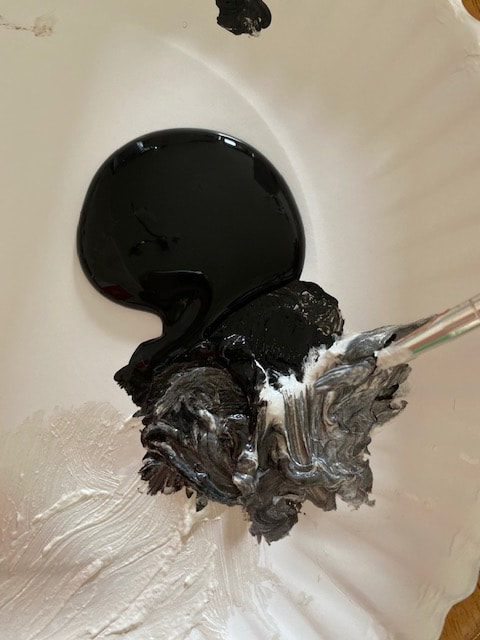
- You can choose between two methods-1: Color/paint the insides of your box directly or 2: Create your designs on paper first and then attach to the inside walls of the box. Pick the one you're most comfortable with.
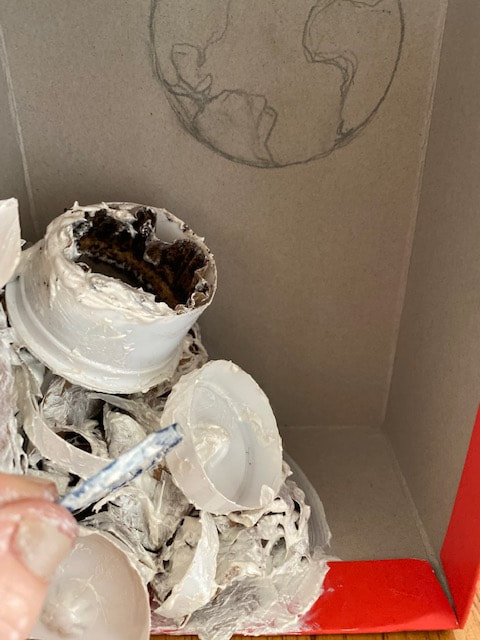
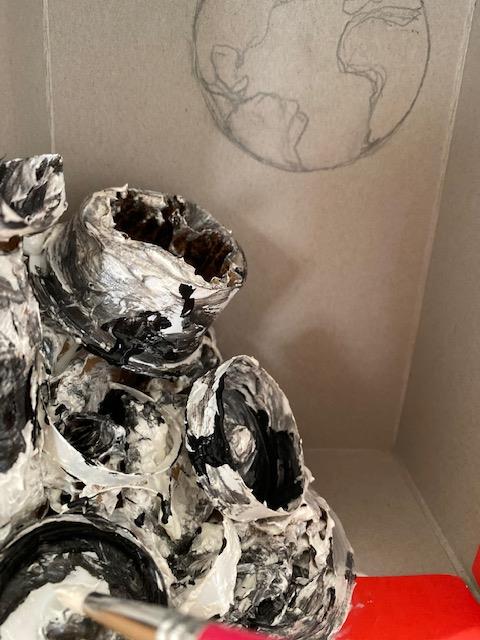
- Once your design is covering all sides of the inside of the box you are ready to start adding your objects.
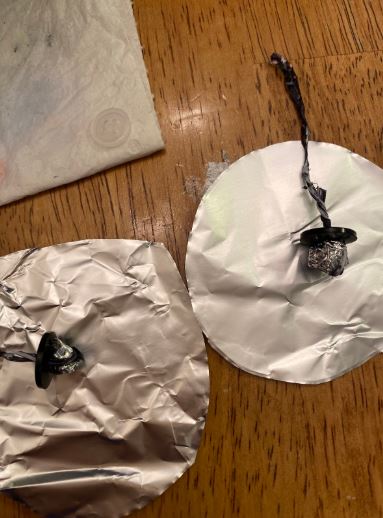
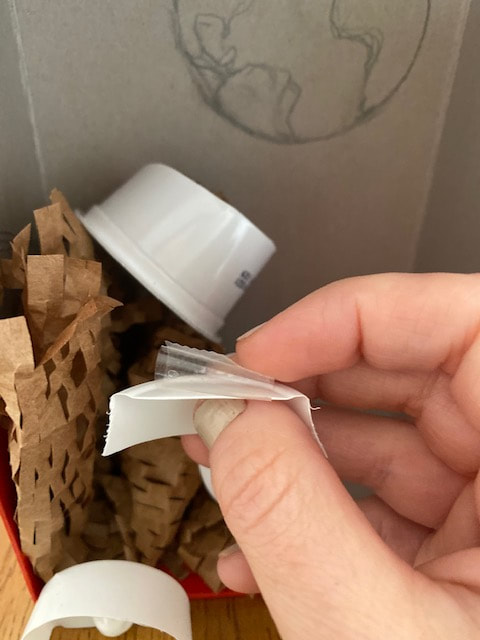
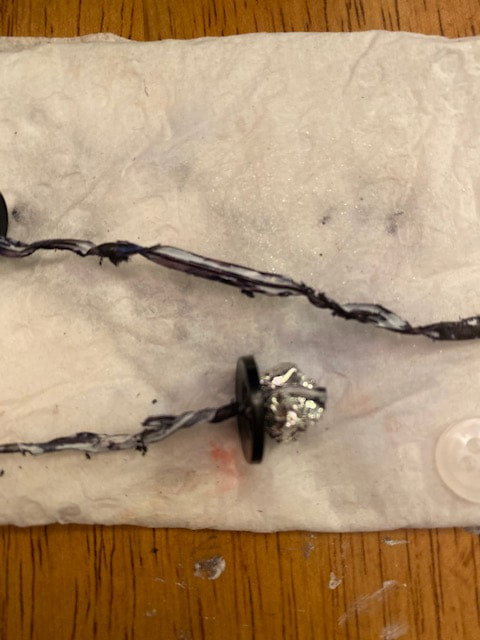
- You can incorporate handmade objects like plants/ hanging vines ….
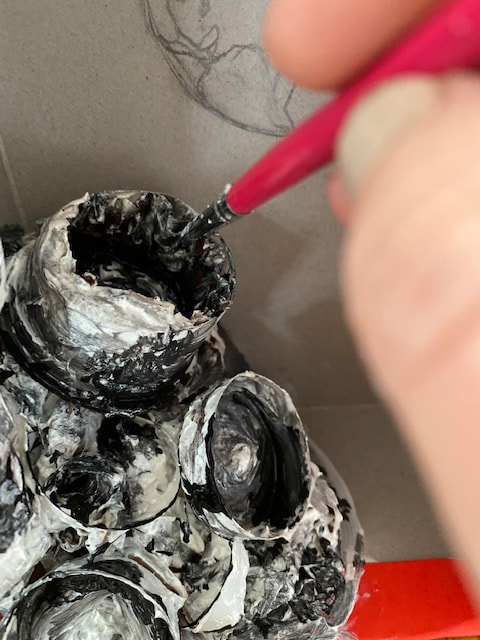
- You can include found objects (check with an adult before using them) like buttons, strings or anything that you find interesting. Just because it’s a found object doesn’t mean you can’t make it your own, add color, change it in some way.
- You can even design the outside of the box once the inside of your awesome creature habitat is completed.


Take it a step further
Can you create a story about the habitat you just invented and include your clay creature? What does your creature eat in the habitat? Where does it sleep? What other creatures live there? What is the climate? Where is this place found? The list goes on! Have a blast!!!!
Can you create a story about the habitat you just invented and include your clay creature? What does your creature eat in the habitat? Where does it sleep? What other creatures live there? What is the climate? Where is this place found? The list goes on! Have a blast!!!!
End discussion
How did your creature habitat turn out? What are the ‘parts of art’ that standout to you when you look at your creation? What part of this lesson made you think? What is the title of your new land?
How did your creature habitat turn out? What are the ‘parts of art’ that standout to you when you look at your creation? What part of this lesson made you think? What is the title of your new land?
Share your work in the SMARTS Spring 2020 Student Gallery
SMARTS families/students, the button below will take you to a site where you can upload your work. Please upload only one picture or video per class (Photography 101 students can share up to 3 photos). Videos must be no longer than 2 minutes in length.
By submitting your work to SMARTS, you are giving your consent for us to share your work in the SMARTS Student Art Gallery and publicly on our social media, website, etc. This submission overrides your media release preferences and gives SMARTS your permission to share what you have uploaded. It is SMARTS discretion which photo and video submissions will be publicly shared. Thank you.
By submitting your work to SMARTS, you are giving your consent for us to share your work in the SMARTS Student Art Gallery and publicly on our social media, website, etc. This submission overrides your media release preferences and gives SMARTS your permission to share what you have uploaded. It is SMARTS discretion which photo and video submissions will be publicly shared. Thank you.